Monday, April 25, 2011

Drying Herbs

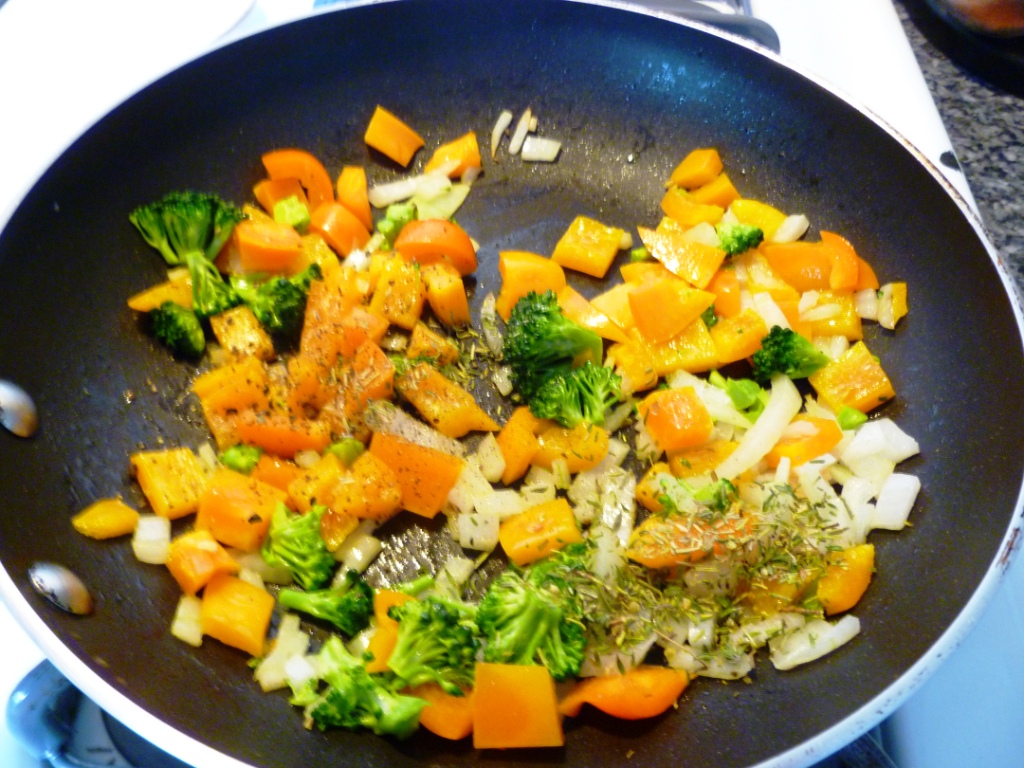
Do you ever have to buy fresh herbs for a special recipe? ..and you really don't need to use it again during its shelf life? I took on that vow to be resourceful, so this blog entry is dedicated to drying spices. I made a little savory, some parsley, and a lot of sage, and  on to the basil!

This summer I am going to create a sustainable herb garden and fuel my meals with fresh summer flavor that will last into the winter months.

Enjoy!

Pantry list:
  • Fresh herbs you want to dry
Drying:
  • Make sure the herbs are dry.
  • Hang up side down by a rubber band or string and let it dry up for a few weeks.
  • After they dry take the herb off the stems and store. I like to put them in saved jars.
Hints:
  • Do not dry in direct sunlight, that is why you see a lot of herbs drying in paper bags.
  • If you decide to protect your herbs in paper bags make sure to poke holes in it to promote air circulation and ventilation for drying
  • My mom used to hang fresh flowers for drying on a string the garage, that was both dry and dark.. although, for the things you want to eat you may come up with another place for drying.
  • There are alternative methods using the oven, if you know of a good way, do tell! I have just heard that the herbs lose their flavor and can easily get "burnt".

Friday, April 22, 2011

Turkey Loaf

A classic keenie kitchen dish is the turkey meatloaf.  I have a simple delectable recipe that will please everyone's taste buds, serve with mashed potatoes, or ketchup for little kids. I like a nice warm plate of brown rice and garlic asparagus so that is how this night's dinner ended up for us.

Shopping List:
  • 1 package of ground turkey
  • 1 egg
  • 1 tblspn of ketchup
  • 1 tblspn of dijon mustard
  • 1 tblspn of parsley
  • 1/2 tsp of salt
  • 1/2 tsp of cracked pepper
  • 2 slices of an onion chopped
  • Bread Crumbs
Putting it together:
  1. Preheat the oven to 375
  2. In a bowl combine your egg, ketchup, dijon, S&P, parsley, and whip it together.
  3. Add the turkey, fold the ingredients together
  4. Chop up the onion, and add to a sizzling pan of whipped butter (about 1 tblspn, or less). Cook it on a medium low heat so the onion does NOT brown.
  5. Combine the onion with the turkey mixture.
  6. Sprinkle a healthy dose of bread crumbs, combine with a fork so you aren't pounding the meat. Add another layer until the meat starts to stick together in small clumps (about 1/2 cup)
  7. Form your meat, stick in the oven, its about 35 minutes, but until the juices are almost done pouring out.
  8. 
    Before it was cooked
    
  9. Let it sit for a few minutes so it redistributes the juices and it doesn't leak out. Carve. Eat!

Sunday, April 17, 2011

Creamed Spinach

I saved spinach a while back, I promised one day I would share my creamed spinach with you. Last night was the night to whip up the delicious side dish. I channeled my mama's amazing technique and knack for whipping up creamy delish veggies.

Here it is..

Remember Me? (link)
Shopping List:
  • Your homemade frozen chopped spinach or 1 package
  • 2-3 tablespoons of sweet whipped butter
  • Half an onion chopped finely
  • 4-5 tablespoons of Wondra, or a light flour
  • Salt to taste

Putting it Together:
  1. In a pan heat up/ cook your frozen chopped spinach. Once cooked let it sit in the hot pot, Reserve water.
  2. Meanwhile, melt the butter in a skillet on a medium LOW heat. The butter must not turn brown at all.
  3. Add the onion at this same medium LOW meat so they turn clear.
  4. Once the onions turn clear add a layer of Wondra, I sprinkle it over the top, whisk it in, and continue with this pattern.
  5. The onions will start to get a little gloppy as they are covered with a good dose of wondra and butter.
  6. Ladle in some of your spinach with a slotted spoon. Add a little spinach water and whisk so the flour doesn't clump.
  7. Keep adding spinach and if too thick, a little water, whisking the entire time.
  8. When it looks like the picture below, ready! eat!

Notes: When you make the frozen chopped spinach, make sure that you squeeze out ALL the water or else your creamed spinach will be a little too watery.

Thursday, April 14, 2011

Frittata

It is time to revisit breakfast in the keenie kitchen. It's been a while since I have decided to create a blog worthy breakfast.  The typical start to my day has been greek yogurt and granola, which can be a mouth watering combination, but lets give those taste buds another reason to get excited.


Eggs, bread, cheese, flour, milk, frozen sausage, a week of leftover veggies, now what do I do? Frittata!


Shopping List:
  • 4 eggs
  • 1/4 cup of milk
  • 1/3 of an onion chopped
  • 1/2  of a bell pepper chopped
  • A little bit of broccoli chopped finely.
  • 3-4 cherry tomatoes quartered
  • 1 clove of garlic
  • 1 tsp of Italian seasoning,
  • S&P
  • 2 slices of muenster cheese diced.

Putting it Together:
  1. Preheat the oven to 350 degrees
  2. Butter up a saute pan at a medium/high heat, as it starts to bubble add the onions, pepper, and broccoli. About 3-4 minutes.
  3. As they brighten and soften up add the Italian seasoning, S&P, and tomatoes. about 1-2 minutes.
  4. Add the garlic and cook until fragrant, about 1 minute.
  5. Turn off the heat and let the mixture cool, so it will not cook the egg.
  6. Whip up your eggs and milk with a pinch or two of salt until bright and silky.
  7. Add the cheese and saute combination.
  8. Add to a greased muffin pan, careful! do not fill to the top because it will puff up a little, and could burn your oven floor, as it did mine.
  9. Cook for about 40 minutes on 350.
  10. Take out of the pan and devour.

Saturday, April 9, 2011

Cashew Chicken

It was another gorgeous spring day, my mouth watered for something light and representative of the day. Pasta Primavera? ooh yum. Well the cream was too heavy for the sensitive stomachs... what else? After scouring seasonal cookbooks I found, and modified, a new recipe for Cashew Chicken. Yum. Light, Filling, and Spicy... everyone agreed this was a Keenie Kitchen favorite.

The shopping list is long, but the flavor is so good, i recommend following the sauce mixture pretty much exactly.

Shopping List:
  • 1 pound of thin chicken tenders
  • 1/2 cup of cashews coarsely chopped
  • Bunch of scallions chopped
  • 2 tbspns of soy sauce (reduced sodium)
  • 2 tsps of sherry
  • 1 tsp of rice wine vinegar
  • 3 tsps of cornstarch
  • 1 yellow bell pepper
  • 1 big bunch of broccoli crowns
  • 1 minced clove of garlic
  • 1 tablespoon of minced ginger (fresh is preferred but not necessary)
  • 1 seranno pepper finely chopped
  • S&P
Putting it together:
  1. Make the sauce: Combine 1 tbspn of soy sauce, 1 tsp of cornstarch, the sherry and rice wine vinegar in a small bowl and put aside.
  2. Make the topping: with about 2 tspns of light whipped butter toast as many cashews as you want. Coarsely chop the cashews and toast in a frying pan. Make sure to mix them around. When toasted take off the heat and reserve for later.
  3. In the meantime slice your chicken into thin strips and in a bowl coat with 1 tbspn of soy and 2 tspns of cornstarch.
  4. Heat up the pan and saute your chicken for 2-4 minutes depending on how thick your slices are. The key is to have them totally whiten up. After 2-4 minutes take off the heat and put aside.
  5. Add your peppers (bell and serrano) and broccoli to the pan with a little S&P, saute until it softens
  6. Add your garlic and ginger and mix around for 30 seconds or so until it becomes very fragrant.
  7. Add the chicken back to the pot and add the reserved sauce.
  8. Mix the ingredients in the pan, if the sauce is too thick add a little water to make the sauce coat better.
  9. Serve with rice and top with the cashews and scallions.
  10. Enjoy!

Wednesday, April 6, 2011

Bread Crumbs

Again, the wonderful Costco world faced me with a surplus of food I could not consume before it went bad. Now I have an extra loaf of bread... I will not be wasteful. My new kitchen mission is to be resourceful and rescue food.

Dry it out, crumble it up, make some bread crumbs! These will have a long shelf life and keep my daily recipes more sustainable! (yes!)


Shopping List/ Pantry List:
  • 1 loaf of bread
Putting it Together:
  1. Cut off the crust (yes! don't you hate those things?)
  2. Put in the oven at a very low temperature and do not let it get brown.
  3. Put it through the food processor.
  4. Store.

Sunday, April 3, 2011

Pan Fried Salmon Patties

Art night rolled around again, a time to make an exciting meal. With spring blooming all around, a day with bright sun and warmth, the smell of new beginnings was truly in the air. I wanted to create something that was representative of spring; with a couple quick flips through a Cook's Illustrated magazine's Summer issue I decided on fresh salmon cakes.


With great company in the kitchen the following meal was modified from the original recipe, and created.


Shopping List:
  • 2lbs of fresh salmon
  • 1 piece of fresh bread with the crusts removed ( i used whole wheat)
  • 6 tblspns of freshly grated onion
  • 2 tblspns of fresh squeezed lemon
  • 3 tblspns of mayo
  • 3 tblspns of fresh chopped parsley
  • 1 tsp of salt
  • 2 eggs
  • 3/4 cup of flour
  • 3/4 cup of bread crumbs

Putting it Together:
  1. Chop the salmon into small pieces, approximately 1/4 to 1/3 an inch pieces.
  2. Mix the salmon with the next 6 ingredients
  3. Using either a 1/3 cup of 1/4 cup measuring cup scoop out the salmon mixture and place on a baking sheet lined with parchment paper or wax paper.
  4. Freeze the patties for approximately 15-20 minutes
  5. Set up 2 dishes, one with flour and one with bread crumbs (homemade bread crumbs!) and whip up two eggs in a bowl.
  6. Heat a skillet with a generous layer of oil (either vegetable, corn, or canola)
  7. Remove the salmon patties from the freezer.
  8. First coat the patties with flour, then dip in the egg, then dredge with bread crumbs and fry. You don't want to burn them, but the bread crumbs will really brown up and they develop a yummy crunch.  I was afraid I ruined them, but these darker areas developed great flavor.
  9. Cook for about 2 minutes on each side. After each patty is done cooking let it rest on a paper towel to let excess oil drain.
  10. Eat!

Notes:I purchased some tartar sauce because I thought they might need a little dipping sauce, but these patties were so flavor packed and so juicy no one reached for the jar.

Friday, April 1, 2011

Paprika Braised Chicken with Spring Vegetables

It was a weekend all to myself, Sunday night dinner planning time... I suddenly randomly craved a dinner I hadn't made in about 2 years, I can say that for sure because I distinctly remember Dave not liking it as much, so I never made it again. Drawing from memory, no idea where I had found the original recipe, this glorious meal was stewed up.

Ingredients
    Paprika
  • 5-6 chicken thighs, bone-in, skin on (or drumsticks)
  • 1.5 tblspns of paprika
  • 1 tblspn of flour
  • 1 tsp of thyme
  • 1/2 tsp (heaping) of salt
  • 1/2 tsp of black pepper
  • 1 can of great chicken broth
  • 1/2 cup of white wine
  • 1 small onion
  • Red potatoes
  • Carrots
Putting it Together:
  1. Mix all the spices together and either shake the spice mixture with the chicken in a ziplock bag, or rub down the chicken on your own.
  2. Let the chicken sit for about 20 minutes to absorb the wonderful flavors.
  3. Heat up a dutch oven and coat with approximately 2 tblspns of olive oil.
  4. Brown chicken about 3-4 minutes on each side.
  5. When all chicken has been browned, remove, and add the onion.
  6. As the onion starts to soften add the broth and white wine. Be sure to scrape the yummy bits off the bottom of the pot.
  7. Add the chicken back in and cook for 30 minutes.
  8. Add the vegetables and remaining spice mixture to the pot.
  9. Let cook for another 30 minutes
  10. Eat!